A form just rejected your photo. "File too large. Maximum 100KB." Your image is 4MB. That's 40 times over the limit.
This happens constantly. Job application portals, government websites, exam registration forms, online marketplaces. They all cap uploads at 100KB or less while your phone camera shoots files far bigger than that.
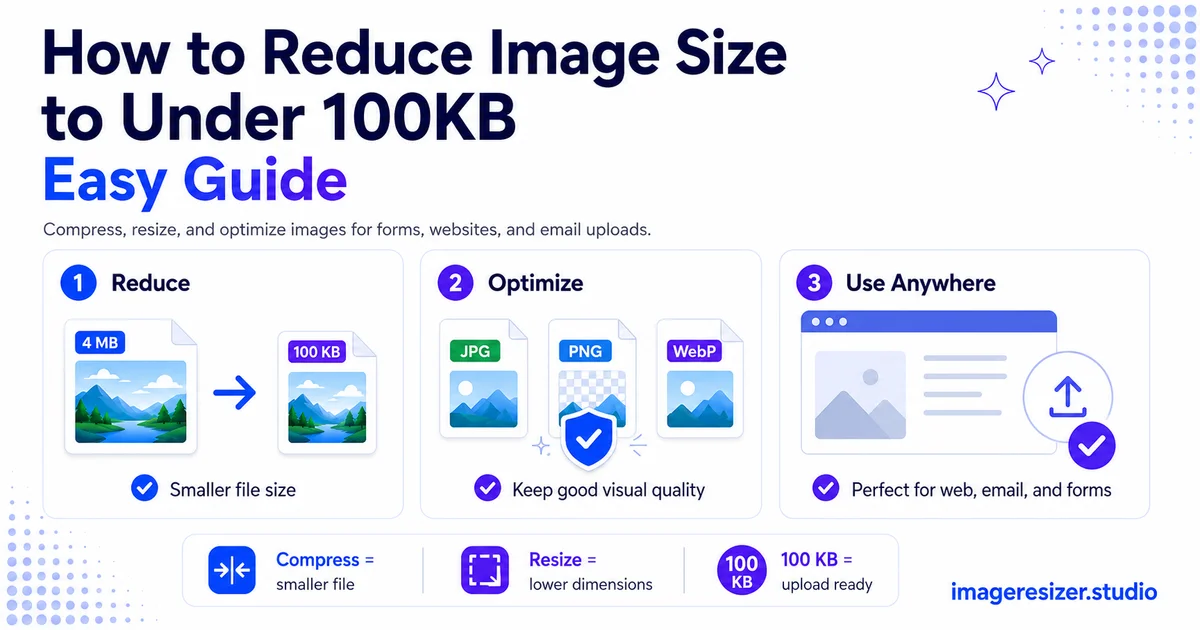
The good news: getting any photo under 100KB takes about a minute once you know the two levers that control file size. Most guides only tell you to "compress it," which often isn't enough on its own. The real trick is combining two actions in the right order.
This guide shows you exactly how to get any image under 100KB, why file size works the way it does and how to keep the photo looking sharp even at a tiny size.
Why so many forms demand under 100KB
100KB feels arbitrary until you know the reason behind it.
Government portals, exam boards and large institutions handle millions of uploads. If every applicant uploaded a 4MB photo, their servers would fill up fast and their pages would crawl. Capping each file at 100KB keeps their storage manageable and their forms fast.
The number itself is a balance. 100KB is small enough to store cheaply at scale, but large enough to hold a recognizable photo of a face or document. That's why it's become the unofficial standard for ID photos, application forms and official uploads worldwide.
The two levers that control file size
Every image's file size comes down to two things. To get under 100KB, you adjust one or both.
Lever 1: Dimensions (the number of pixels)
A photo that's 4000 pixels wide has 4 times as many pixels as one that's 1000 pixels wide, which roughly means 4 times the file size. Most uploads don't need anywhere near 4000 pixels. A passport photo displays at maybe 600 pixels. Shrinking the dimensions is the biggest single way to cut file size.
Lever 2: Compression (the quality setting)
After dimensions, the quality setting controls how much data each pixel uses. Lowering JPEG quality from 100% to 80% can cut the file size in half with almost no visible change. Push it lower and the file shrinks more, with gradually more visible quality loss.
The mistake most people make is using only one lever. They compress hard and wreck the quality, when they should have shrunk the dimensions first. Use both in the right order and you get a small file that still looks good.
The order that actually works
Here's the exact sequence to get any image under 100KB without destroying it.
The key is the order. Resize the dimensions first, because that does most of the work without touching quality. Only then compress. People who compress first usually have to crush the quality much harder to hit the target, which is why their photos end up looking bad.
Step-by-step: getting under 100KB in your browser
This works on any device (computer or phone) using a browser-based tool, with no software to install.
- Open an online image compressor in your browser
- Upload your photo from your files or camera roll
- First, resize the dimensions down to what you actually need (for most forms, 600 to 1000 pixels on the long edge is plenty)
- Set the target file size to 100KB, or lower the quality to around 80%
- Check the resulting file size shown by the tool
- If it's still over 100KB, lower the quality a little more until it fits
- Download the compressed image and upload it to your form
If you want to set an exact target rather than guess at quality percentages, use a tool with a specific KB target field so you hit just under 100KB on the first try instead of trial and error.
Need to get your image under 100KB right now? Use the free image compressor → for quick one-click compression, or try the custom compressor → to set an exact file size target like 100KB. Both run in your browser with no upload to any server.
Getting under 100KB on your phone
Most people hit the 100KB limit while filling a form on their phone, with the photo already in their camera roll. You don't need a computer for this.
A browser-based compressor works the same on a phone as on a desktop. Open it in Safari or Chrome, upload from your camera roll, resize and compress, then download the smaller version back to your phone. The whole thing takes under a minute.
For the full rundown of mobile-specific methods, including the built-in tools on iPhone and Android, here's how to resize an image on your phone, which pairs perfectly with compression when you need to hit a strict size limit on the go.
How to keep the photo looking good under 100KB
A 100KB photo doesn't have to look bad. These tips keep it sharp even at a small size.
Resize, don't just compress
This is the single most important tip. Shrinking the dimensions preserves more visible quality than crushing the compression. If you're unsure how resizing differs from cropping or scaling, here's a clear breakdown of resize vs crop vs scale so you pick the right operation for your photo.
Start from the original
Always compress from the highest-quality original you have. If you compress a photo that's already been through WhatsApp or saved multiple times, you're stacking quality loss on top of quality loss. The original from your camera roll gives the best result.
Crop out what you don't need
If half your photo is empty background, crop it out before compressing. Fewer pixels to store means a smaller file at the same quality. For an ID photo, cropping tight to the face also meets most form requirements.
Use JPEG, not PNG
For photos, JPEG compresses far smaller than PNG. A photo saved as PNG can easily be 5 times larger. Unless the form specifically asks for PNG, always use JPEG for photographs you need to shrink.
Common 100KB scenarios
Passport or ID photo under 100KB
Most ID photo forms want a small image (often 600x600 pixels or similar) under 100KB. Resize to the required dimensions first, then compress to around 80% quality. This almost always lands under 100KB while keeping the face clear.
Document scan under 100KB
Document scans (especially of text) compress well. Resize so the text is still readable, then compress. For documents, you can often push compression harder than for photos because text tolerates it better than skin tones and gradients.
Square image for social under 100KB
If you need a square image under 100KB for a profile or post, here's how to resize an image to 1080x1080, then compress that square down to fit the file size limit.
Multiple images at once
If you have several images to get under 100KB, compressing them one by one is slow. For the broader workflow on optimizing many images efficiently, the guide to compressing images for website speed covers batch approaches that apply here too.
4 mistakes that keep you stuck above 100KB
1. Compressing without resizing
Trying to hit 100KB by compression alone, on a full-resolution photo, forces you to crush the quality. Resize the dimensions down first and the file shrinks dramatically before you touch the quality setting.
2. Using PNG for a photo
PNG keeps photos far larger than JPEG. If you're struggling to get under 100KB and you're using PNG, switching to JPEG often solves it instantly.
3. Compressing an already-compressed file
Re-compressing a photo that's already lost quality (from WhatsApp, screenshots, or repeated saves) gives a worse result. Start from the original every time.
4. Guessing instead of targeting
Randomly lowering quality and rechecking wastes time. Use a tool that lets you set a target file size like 100KB directly, so it does the math for you and lands just under the limit.
Wrapping up
Getting under 100KB isn't about crushing your photo until it looks terrible. It's about pulling two levers in the right order: shrink the dimensions first, then compress the quality.
Resize to the size you actually need. Compress to around 80%. Check the size. Lower a little more if needed. Save as JPEG. That sequence gets almost any photo under 100KB while keeping it sharp enough to recognize.
Next time a form rejects your file, you'll fix it in under a minute.