Images are the number one reason sites fail Core Web Vitals. They're usually the largest element on the page, they block rendering and they cause layout shifts when they pop in without reserved space.
The good news for developers: image issues are the most fixable Core Web Vitals problems. Unlike the deep JavaScript work that INP demands, image optimization follows clear, repeatable patterns. Get them right and you move two of the three metrics in the right direction at once.
This is a working checklist, not a theory lesson. Every item is something you can ship today: the format choices, the loading attributes, the dimension rules and the delivery setup that take your image-driven Core Web Vitals scores from red to green.
By the end you'll have a repeatable image optimization process you can apply to any page on any stack.
How images affect each Core Web Vital
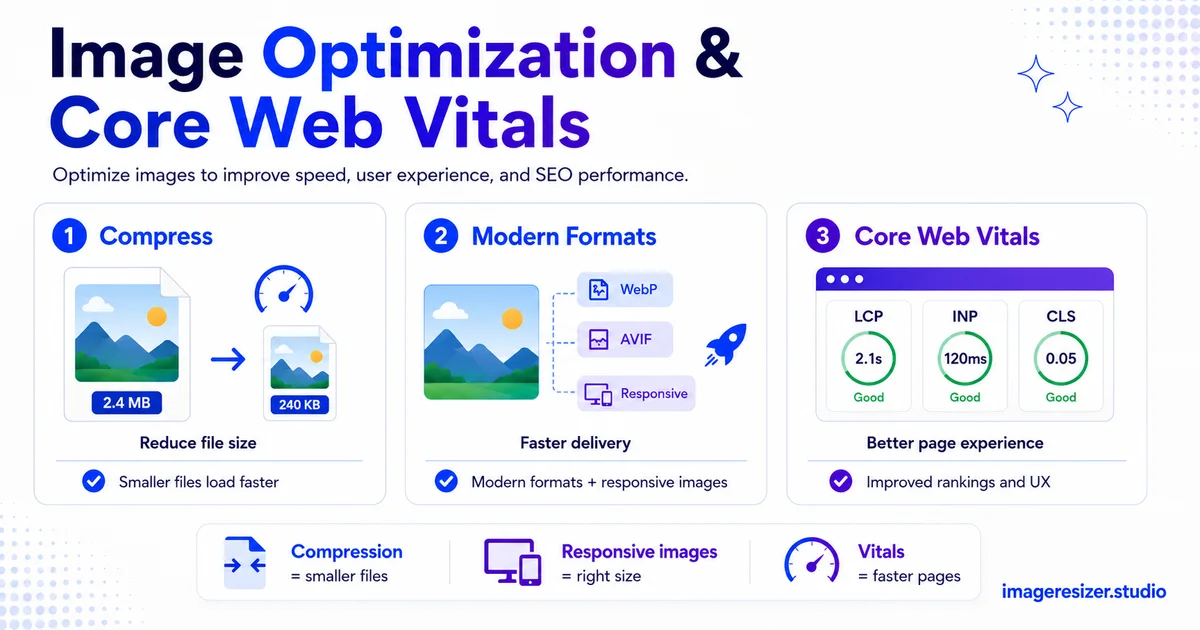
Core Web Vitals are three metrics Google uses as a page experience ranking signal, measured on real users at the 75th percentile. According to Google's official Core Web Vitals documentation on web.dev, the three metrics and their "good" thresholds are as follows.
LCP (Largest Contentful Paint): under 2.5 seconds
Measures how long the largest visible element takes to render. On most pages that element is an image, usually the hero. A heavy, slow-loading hero image is the single most common cause of a failing LCP score. Images are at the center of this metric.
CLS (Cumulative Layout Shift): under 0.1
Measures unexpected layout movement as the page loads. Images without explicit width and height are a leading cause. When an image loads and pushes content down because the browser didn't reserve space for it, that's a layout shift that hurts your CLS score.
INP (Interaction to Next Paint): under 200 milliseconds
Measures responsiveness to user interactions. INP replaced First Input Delay in March 2024. Images affect INP less directly, but heavy image decoding and oversized files compete for the main thread and can delay interaction readiness. Lighter images help here too.
So images directly drive LCP and CLS while indirectly touching INP. Fix your images and you improve the two metrics most sites fail on image-heavy pages.
The 2026 Core Web Vitals thresholds
Keep these numbers in front of you. Google measures the 75th percentile of real users, so 75% of visits must hit "good" to pass.
Checklist part 1: fix LCP (your hero image)
LCP is where images matter most. The largest element is almost always an image, so these fixes target it directly.
1. Serve the LCP image in AVIF or WebP
Modern formats cut the LCP image file size dramatically. AVIF is up to 50% smaller than JPEG, WebP about 25-35% smaller. Smaller file means faster load means better LCP. This comparison of JPEG vs PNG vs WebP vs AVIF covers which to pick and how to set up fallbacks for full browser coverage.
2. Add fetchpriority="high" to the LCP image
Tell the browser this image matters. Adding fetchpriority="high" to your hero image makes the browser fetch it sooner, ahead of lower-priority resources. This one attribute can shave hundreds of milliseconds off LCP.
3. Never lazy-load the LCP image
Lazy loading is great for below-the-fold images, but applying loading="lazy" to your hero image is a classic mistake. It delays the most important image on the page. The LCP image should load immediately, eagerly, with high priority.
4. Preload the hero image
Add a <link rel="preload" as="image"> tag in the head for your hero image so the browser discovers it early, before it finishes parsing the rest of the HTML. Pair it with fetchpriority high for maximum effect.
5. Resize the image to its display size
Serving a 3000-pixel-wide image into an 800-pixel container wastes load time on pixels nobody sees. Resize the hero to the largest size it actually displays at, then serve responsive variants for smaller screens. This is often the single biggest LCP win.
6. Keep TTFB under 200ms
Time to First Byte is the floor for LCP. If your server takes a second to respond, no amount of image optimization saves you. Use a CDN, cache aggressively and consider edge delivery. TTFB under 200ms is the target, since the LCP image can only be as fast as the server allows.
Need to compress your hero and content images to the right size and format? Use the free image compressor → for quick AVIF and WebP compression, or try the custom compressor → to control exact dimensions, format and quality for each breakpoint. Both run in your browser with no upload to any server.
Checklist part 2: fix CLS (reserve space for images)
CLS from images is almost always one problem: the browser doesn't know how big the image will be, so it reserves no space, then shoves content around when the image arrives. The fixes all come down to reserving that space upfront.
7. Always set width and height attributes
Every image element needs explicit width and height attributes. The browser uses them to calculate the aspect ratio and reserve the correct space before the image loads, which eliminates the shift. This is the single most important CLS fix and the most commonly skipped.
8. Use the aspect-ratio CSS property for responsive images
For responsive images that scale with their container, set the aspect-ratio CSS property so the browser reserves proportional space at any screen width. Combined with width and height attributes, this keeps the layout stable across all breakpoints.
9. Reserve space for images that load late
For images loaded by JavaScript, in carousels, or below the fold, make sure their containers have reserved dimensions from the start. An image that appears after interaction should drop into pre-sized space, not push the page around when it arrives.
10. Avoid inserting images above existing content
If you inject an image (an ad, a banner, a late-loading hero) above content the user is already reading, everything jumps down. Either reserve the space ahead of time or insert below the fold where it won't disrupt what the user sees.
Checklist part 3: optimize delivery (every image)
These apply to all images on the page, not just the hero, so they compound across an image-heavy page.
11. Lazy-load below-the-fold images
Add loading="lazy" to every image below the fold. The browser only loads them as the user scrolls near them, which frees up bandwidth and main-thread time for the critical above-the-fold content. Just never apply it to the LCP image.
12. Serve responsive images with srcset
Use the srcset and sizes attributes to serve appropriately sized images to each device. A phone gets a small image, a desktop gets a large one. This can halve mobile image weight, and since Google ranks on mobile field data, mobile weight is what counts.
13. Compress every image, not just the hero
A page might have one hero and twenty content images. Those twenty add up. Compress them all to 80-85% quality. The complete guide to compressing images for website speed covers the full workflow, including the automation that makes this practical at scale.
14. Use a CDN or image service
Image CDNs (Cloudinary, ImageKit, Cloudflare Images) serve images from locations close to the user, convert to AVIF or WebP on the fly and resize per device automatically. For a content-heavy site, this single change can fix most image-related Core Web Vitals issues at once.
15. Handle PNGs carefully
PNGs are often the heaviest images on a page. If you have PNG screenshots or graphics, here's how to compress PNG images by up to 70%, or convert them to WebP which keeps transparency at a fraction of the size.
How to measure your image-driven Core Web Vitals
You can't optimize what you don't measure. Use these tools in order.
- PageSpeed Insights: paste your URL for both lab and real-user (field) data, with the LCP element identified
- Chrome DevTools Performance panel: record a load to see exactly which image is the LCP element and how long it takes
- Lighthouse: run it on every significant deploy to catch regressions before they ship
- Google Search Console Core Web Vitals report: track real-user pass rates across your whole site over the 28-day window
- Web Vitals Chrome extension: see live LCP, CLS and INP as you browse during development
Start with PageSpeed Insights to find your LCP element. If it's an image (it usually is), the LCP checklist above is your priority list.
A note on images beyond the web page
Core Web Vitals only cover your own pages, but the same compression discipline helps everywhere images travel. If you also publish to social platforms, the social media image size cheat sheet shows the right dimensions per platform, so you serve correctly sized images there too rather than letting each platform recompress oversized uploads.
The priority order: what to fix first
If you only have time for a few fixes, do them in this order for the biggest Core Web Vitals impact.
- First: add width and height to every image (fixes most CLS instantly)
- Second: convert and compress the LCP hero image to AVIF or WebP at display size
- Third: add fetchpriority high and preload to the hero, remove any lazy-load from it
- Fourth: lazy-load all below-the-fold images
- Fifth: add srcset for responsive sizing
- Sixth: move image delivery to a CDN or image service
The first three alone fix the majority of image-driven Core Web Vitals failures on most pages. They take an afternoon, not a sprint.
5 image mistakes that quietly tank Core Web Vitals
1. Lazy-loading the hero image
The most common own-goal. Lazy loading the LCP image delays the exact thing the metric measures. Eager-load the hero, lazy-load everything below the fold.
2. Missing width and height attributes
No dimensions means no reserved space means layout shift. This single omission is behind most CLS failures. Add them to every image, always.
3. Serving oversized images
A 4000px image in an 800px slot loads four times slower than it needs to. Resize to display size and serve responsive variants. The user never sees the wasted pixels, but they feel the wait.
4. Still using JPEG and PNG everywhere
Sticking with legacy formats leaves 25-50% file-size savings unclaimed. Convert to AVIF or WebP with fallbacks and your LCP improves across the whole site.
5. Optimizing only the hero
The hero matters most for LCP, but twenty heavy content images still slow the page and compete for bandwidth. Compress every image on the page, not just the one above the fold.
Wrapping up
Images are the most common reason pages fail Core Web Vitals, while also being the most fixable. They drive LCP directly, cause most CLS problems and add weight that touches INP. Fix them and two of the three metrics improve at once.
Work the checklist in order: dimensions on every image for CLS, then a compressed modern-format hero with high priority for LCP, then lazy loading and responsive sizing for the rest. Measure with PageSpeed Insights and Search Console, then treat regressions as bugs.
Most image-driven Core Web Vitals failures come down to a handful of patterns. Learn them once and you can green a page in an afternoon.