PNG files are big. That's the price they pay for being lossless and keeping every pixel perfect.
A single PNG screenshot can hit several megabytes. A PNG logo with transparency can be larger than the photo next to it. And when you're trying to keep a website fast or fit under an upload limit, those bloated PNGs become a real problem.
The good news is that PNG files are often far larger than they need to be. Most carry data they don't need. There are specific, reliable methods to cut them down, sometimes by 70% or more, without any visible quality loss.
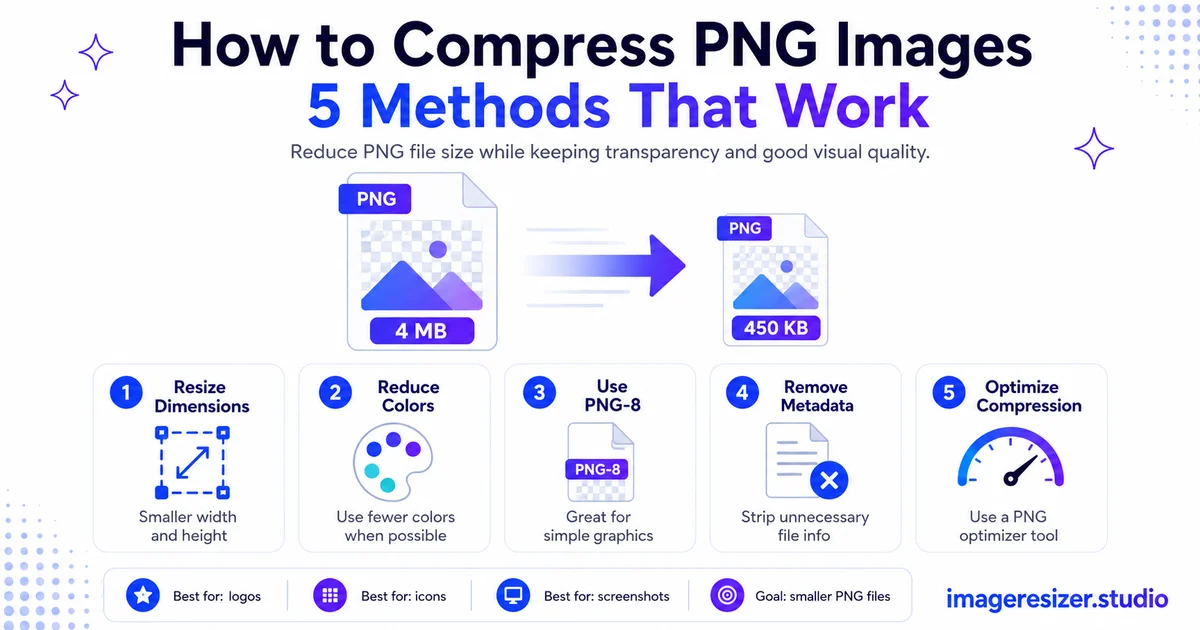
This guide covers five methods that actually work to compress PNG images, why PNGs get so large in the first place and when you should reach for a different format entirely.
Why PNG files get so large
To compress PNGs well, it helps to understand why they balloon in the first place.
PNG is a lossless format. Unlike JPEG, it never throws away image data to save space. Every pixel is stored and reconstructed perfectly. That's exactly what makes PNG great for logos, text and sharp graphics. That same completeness is exactly what makes the files large.
This lossless-versus-lossy difference is the whole reason PNGs are heavy. If you want the full picture of how the two approaches trade size for quality, here's a visual guide to lossy vs lossless compression that explains exactly what each one does to your image.
PNG works best for images with flat colors and sharp edges. When you save a photograph as PNG, the format has to store every subtle color variation losslessly, which is why a photo can be five times larger as a PNG than as a JPEG. The format is doing exactly what it's designed to do, just on the wrong kind of image.
5 methods to compress PNG images
These methods range from one-click simple to more technical. Most people only need the first two.
Method 1: Use a PNG compressor tool
The fastest and most reliable method. A dedicated PNG compressor uses smart techniques to shrink the file while keeping it lossless or near-lossless. The best ones can cut PNG file size by 50-70% with no visible difference.
The two main approaches these tools use are worth knowing. Lossless PNG optimization strips unnecessary data (metadata, redundant color information) without touching the image at all. Lossy PNG compression, sometimes called "pngquant" style, reduces the number of colors stored, which shrinks the file dramatically with only minor, usually invisible quality loss.
- Open a PNG compressor in your browser
- Upload your PNG file
- Choose lossless (perfect quality) or lossy (smaller file)
- Download the compressed PNG
Method 2: Reduce the dimensions first
Before any compression, ask whether the PNG is bigger than it needs to be. A logo displayed at 200 pixels wide doesn't need to be a 2000-pixel file. Resizing the dimensions down to the actual display size is often the single biggest file-size win, before you compress at all.
Resize first, then compress. A 2000-pixel PNG resized to 400 pixels can drop to a fraction of its size instantly. A compressor then squeezes it further. This two-step order is the secret to small PNGs.
Method 3: Reduce the number of colors
PNG comes in different color depths. A PNG-24 stores up to 16 million colors. A PNG-8 stores only 256. For logos, icons and simple graphics that use just a handful of colors, converting from PNG-24 to PNG-8 cuts the file size massively with no visible change, because the image never used those millions of colors anyway.
This is the single most effective trick for graphics. A flat-color logo saved as PNG-8 can be a tenth the size of the same logo as PNG-24, with no difference you can see.
Method 4: Strip metadata
PNG files often carry hidden metadata: color profiles, text chunks, creation software tags, timestamps. None of it affects how the image looks. Many compressor tools strip this automatically, but it's worth knowing it exists. For a small icon, metadata can be a surprising chunk of the total file size.
Method 5: Convert to a better format
Sometimes the best way to compress a PNG is to stop using PNG. If your image is a photograph, JPEG or WebP will be far smaller. If you need transparency, WebP supports it at a fraction of PNG's size. This comparison of JPEG vs PNG vs WebP vs AVIF shows exactly when each format wins, so you can decide whether PNG is even the right choice for your image.
Modern WebP can replace most PNGs at 25-35% smaller file sizes, keeping the transparency and sharp edges PNG is known for. For the web especially, converting PNG to WebP is often the smartest single move.
Which PNG compression method to use
Pick the right method based on what your PNG actually is.
The pattern is clear. For flat graphics, reduce colors. For screenshots, resize and run a lossless pass. For transparency, switch to WebP. And if it's secretly a photo, get out of PNG entirely.
Ready to compress your PNG right now? Use the free image compressor → for quick one-click PNG compression, or try the custom compressor → to control the color reduction, quality and target file size. Both run in your browser with no upload to any server.
Lossless vs lossy PNG compression: which to choose
PNG compression comes in two flavors and picking the right one matters.
Lossless PNG compression
Strips unnecessary data and optimizes how pixels are stored, without changing the image at all. The result is identical to the original, just smaller. Use this when the PNG must stay pixel-perfect: detailed logos, technical diagrams, images you'll edit again. The savings are usually 10-30%.
Lossy PNG compression
Reduces the number of colors in the image, which shrinks the file far more (often 60-70%). For most logos, icons and graphics, the color reduction is invisible because the image used few colors to begin with. Use this when you want maximum file-size savings and the image isn't a detailed photograph.
For most web use, lossy PNG compression is the right call. The savings are large and the quality loss is usually undetectable. Reserve lossless for cases where you genuinely cannot afford any change at all.
Compressing PNGs for a fast website
If your PNGs are slowing down a website, compression is essential, but it's part of a bigger picture.
Image weight is the biggest factor in page speed, and PNGs are often the heaviest offenders. The complete guide to compressing images for website speed covers the full workflow, including responsive sizing and lazy loading, that turns heavy PNGs into a fast-loading page.
The quick wins for web PNGs: convert flat graphics to PNG-8 or SVG, convert anything needing transparency to WebP, resize to display dimensions and strip metadata. Do those four things and your PNG weight drops dramatically.
A note on PNGs for social media
If you're making graphics for social media, PNG is fine for text-heavy designs and logos, but the platform will recompress your upload anyway. The bigger factor is using the right dimensions for each platform. The social media image size cheat sheet shows the exact sizes to use, which matters more than format for how your post ends up looking.
For a social graphic with lots of flat color and text, a well-compressed PNG-8 at the right dimensions works well. For a photo-based post, skip PNG and use JPEG or let the platform handle a high-quality upload.
4 mistakes that keep PNGs too large
1. Using PNG-24 for simple graphics
A flat-color logo doesn't need 16 million colors. Saving it as PNG-24 wastes enormous space. Convert to PNG-8 and the file shrinks dramatically with no visible change.
2. Not resizing before compressing
Compressing a 3000-pixel PNG that displays at 300 pixels is wasted effort. Resize to the actual display size first, then compress. The dimension cut does most of the work.
3. Using PNG for photographs
This is the classic mistake. A photo as PNG is huge. The same photo as JPEG or WebP is a fraction of the size with no visible difference. PNG is for graphics, not photos.
4. Keeping PNG when WebP would be better
For the web, WebP does everything PNG does (including transparency and sharp edges) at a smaller size. Sticking with PNG out of habit leaves easy savings on the table.
Wrapping up
PNG files are large because they're lossless, but most are far larger than they need to be. The five methods that actually work: use a PNG compressor, resize the dimensions first, reduce the number of colors, strip metadata and convert to a better format when PNG isn't the right fit.
For flat graphics, reduce colors to PNG-8. For screenshots, resize and compress losslessly. For transparency, switch to WebP. For photos, leave PNG entirely. Match the method to the image and your files shrink without any visible quality loss.
A bloated PNG is almost always a fixable problem. Now you have five ways to fix it.